Moving Boxes

In a few days I’m moving from my current apartment into a much smaller space. I’m adopting the minimalist strategy of only owning a couple of suitcases of stuff, which I think will give me an even greater degree of freedom and mobility.

It shouldn’t surprise you that I’m using buckets as a major part of my moving strategy. I’ve got a bucket for pants, a bucket for shirts, and some smaller buckets for socks, underwear and toiletries. Office supplies have their own bucket, as well as electronics and cords. Each food item I’m taking with me gets a bucket appropriately sized to the quantity I usually buy – the largest bucket is for coarse wheat flour which I use to make bread almost every day.

I’ve so far pared all my possessions down to 2 large suitcases and 1 small one, not counting food which I’m not putting a hard limit on. I should be able to move everything I own in one trip with my bicycle trailer (pictured on the About the Author page.)

Sailboat

Christened the “Thunder Bucket,” this ultra-cheap sailing dinghy was cobbled together by professional boat builder Bill Tosh from used pallets and five gallon buckets. With a tarp for a sail and a 2×4 mast, the boat only cost $29.18 to make.

Instructions on building one of these aren’t published, but you can read the boat’s story  and see more pictures at pdracer.com.

Bike Panniers

five gallon bike cargoI only learned the word “Pannier” recently, we always called them “bike bags” growing up. Square pails work best, but some of the guys that work for me use round pails with no negative effects.

I have heard reports of people drilling into their buckets to add special metal attachments, but in my opinion there’s no need to make the bucket paniner so complicated, we just use cheap ratcheting straps like these ones which hold very strong and come off very easily. You will need a strong bike rack (sometimes called a “rat trap”) if you plan to carry heavy loads on your bucket cargo bike.

To double your carrying capacity, you can put a bucket on each handlebar, but make sure your handlebars are wide enough so the buckets do not interfere with your front wheel! This technique is not very safe, and should not be attempted over long distances.

When you park your bike, slip the bucket under the pedal for an instant kickstand!

bucket kickstand


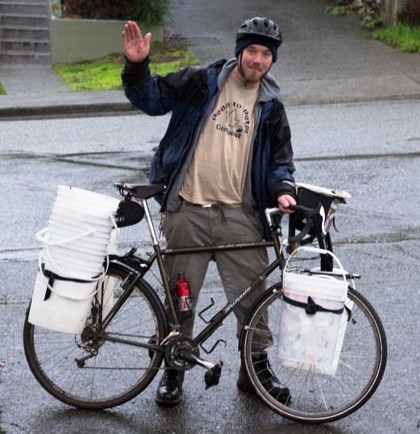
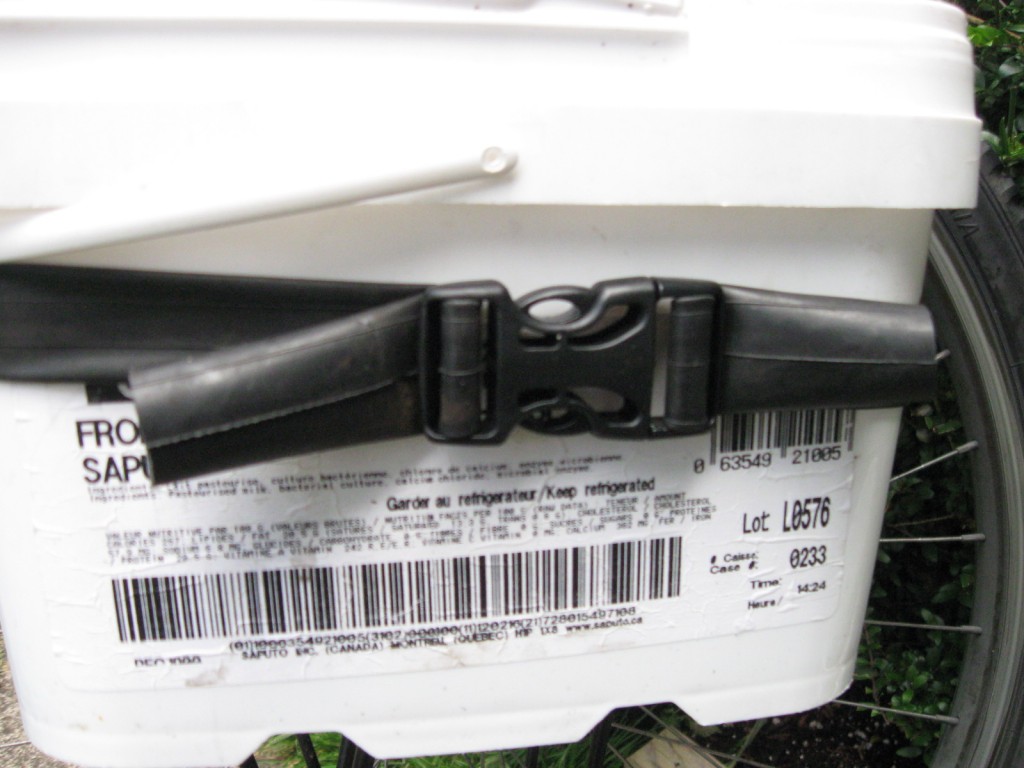
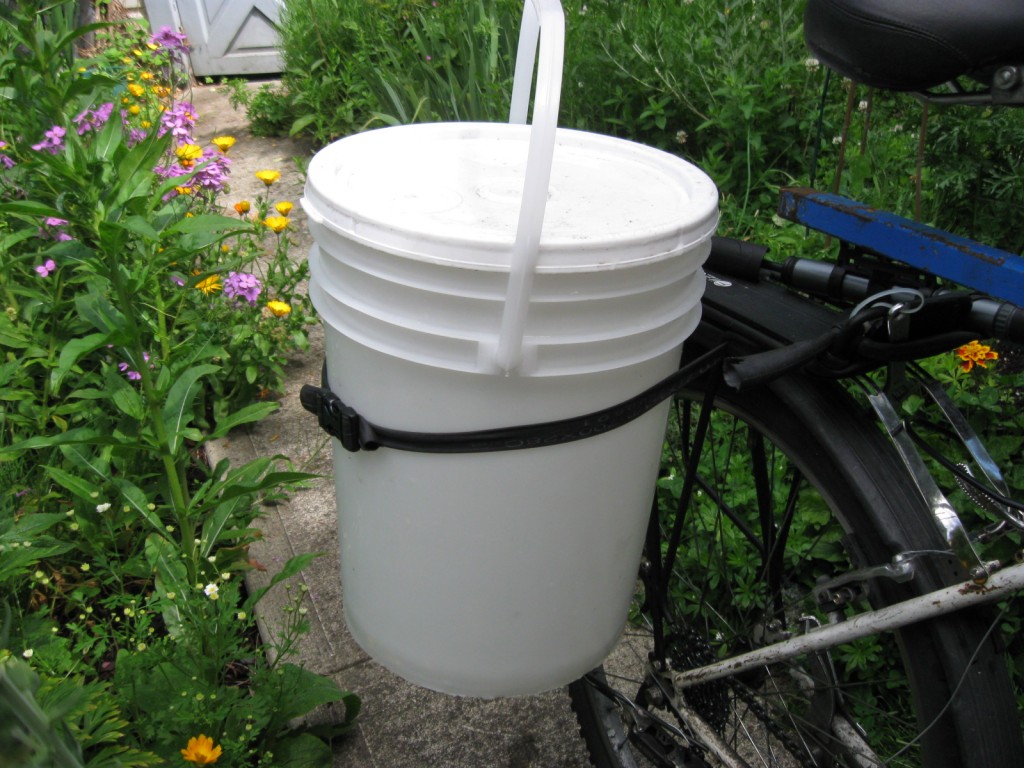
Update: I have engineered a special strap that works very well for carrying buckets around with a bicycle rack, pictured on the right. These straps cost 70 cents each to make, and use a bicycle tube connected with these plastic buckles. They are strong enough to securely fasten a full five gallon bucket (20-30 lbs.) onto a sturdy rack.

5 gallon bucket round bicycle pannier

Bicycle Straps Tutorial

finished-elastic-snap-strap-1024x195

For this project, you only need 2 ingredients:

  1. Plastic Buckles, male and female
  2. One or more used bicycle tubes

There are 2 widths of bicycle tubes I commonly see, 1″ and 1¾”. As far as I can tell, the former is for road bike tires while the latter is more commonly used for mountain bike tires.

For my straps, I’m using 1″ which makes a strap strong enough for most applications at home.

I get these straps by the dozen free from a nearby bike shop. They all have holes or tears in them, so they aren’t great for holding air anymore – but they work perfectly as straps, and they are extremely strong and durable.

bicycle-tubes-sizes-300x289

Plastic Buckles

I buy my plastic buckets from Mountain Equipment Co-op, which is the Canadian version of REI. I get them for about 70 cents per pair male and female. Make sure you choose the right size for you bicycle tube, size 1½” or 1¼” works perfect for my 1″ bicycle tubes. You can get them for about the same price on Amazon.

snap-clips-300x225

Making the Straps

I cut my bicycle tube into thirds to make 3 straps. You can make your straps as long or as short as you want of course. A strap may seem short, but these straps stretch very far. In the next 3 pictures, you can see the same strap holding 2 very different sized buckets securely to a bike.

bike-bucket-closeup-1024x768 five-gallon-pannier-1024x768 bike-bucket-768x1024


Wine or Cider Press

This is a reader submitted guest post from Shannon of Island Shire Farm.

Today we created a wine press.

I used some ideas from a couple of guys on the Internet, with a few of my own modifications.

five gallon bucket cider press

Here are the materials we used to make this unit:

  • 1 10′ long 2×10
  • 1 Home Depot bucket, very orange and unscratched
  • 2 yards of netting fabric
  • 1 8×8 fence post (14″ segment)
  • 1 car jack
  • Tray to catch juice

2x10 lumber cutting

First cut the 2×10 board into two 31″ pieces and two 18″ pieces. We cut the remainder into two rough hexagons that fit into the bottom of the Home Depot pail as platens, or squishing devices.

The greatest modification we did was in terms of what we did to the pail. Rather than the very large 1″ holes that Kimball Herrick used in his plastic buckets, or the spigot only that Kevin Kossowan used in his pail, we drilled a series of 1\2″ holes as close to the bottom as possible for the wine to pour out, and then a few more about 2″ and 6″ from the bottom, just for a little air flow.

Five gallon bucket with holes

The press itself is basically just a box with the four corners supported with little triangles for extra strength. At first we made the bottom triangles too big, and had to reduce the size so that the bucket could protrude a little toward the back. The power is supplied by a car jack which we ingeniously hung from the top with a single bolt. My jack’s base didn’t have any holes for bolts, so I inverted Kevin Kossowan’s design, and I think it’s better for it, since the base has a much larger area of pressing on the platen. In the photos, the press is sitting on top of a wooden chair to get it up off the ground.

wine making plastic bucket

Here my helper loads the grape must, skins and all, from a 20 gallon food grade pail into the netting fabric, which is held in a stainless steel bucket. After this he pulls all four corners together and ties it all up into a nice little wet package with string. A lot of juice drains out this way, but the press gets the rest of it out quite nicely.

Here is a closeup shot of the platen being pushed down into the pail with our monster plunger. The car jack puts a good amount of force on the platen. The puck of skins and seeds comes out pretty dry.

five gallon bucket platen

Each one of these packages is called a “cheese.” We noticed that the cheese tended to spread out quite a bit in the first pressing, and since our platens don’t go all the way to the very edges, some of the cheese pooches out from under the platen inside the pail. So we took the much drier cheese out, jiggered the edges into the middle, and then twisted the whole package tighter and put it back into the press. We usually got more juice out that way.

For a while we pressed with just one package of must tied into cheesecloth. However, cheesecloth threads tend to move around, and on the third batch ours tore, so I had to go off to get some netting type fabric from Joann’s. Then we had enough fabric to do two at a time, so everything went a lot faster after that.

The tray is one that I bought from a thrift store, and fittingly has wine bottles on it. We drilled a hole along one edge and the liquid just drops down into a vessel. We will still be able to use the tray, and if anyone wonders what it is, we will say that it’s a WINE tray, can’t you see that?

From about 13 to 15 gallons of must, we have ended up with 10 gallons of liquid. Some of this will be lost in the various rackings we will do over time, to get rid of sediment.

If we ever get a big haul of apples, apparently I could also used this as a cider press, but that is for another day.

Editor’s Note: This design is a simplified version of the “Whizbang Cider Press” which is designed to be built yourself with some manufactured speciality parts. A photo essay is on the whizbang website, and detailed instructions are published in book form.

Washing Machine

five gallon bucket washing machine It’s very easy to make a five gallon washing machine, you just need the following ingredients:

  • Drill
  • Plunger
  • Five Gallon Bucket
  • Tight fitting lid

Make sure you use a brand-new, clean plunger for this project. Here’s a link to a cheap one on Amazon.

Building this unit is very simple, just take note of these 2 special design features that will make your washer work more effectively.

Tight entry hole Cut the hole in the bucket lid to fit the plunger handle snugly, to ensure water doesn’t find its way up and into your face.

Plunger holes Drill about a dozen 1/4″ on the sides and top of the plunger to allow the water a place to flow through.

If you skip this step, your plunger will buckle and won’t pump up and down smoothly.

An even simpler design

You can simplify this design drastically, just fill one or two buckets with soapy water and your laundry, and agitate your clothes thoroughly. See our article on hand washing in a 5 gallon bucket. hand washing in a bucket