
Here’s a waterer I made for our new flock of chickens. I made a few modifications to a simple design I’ve found elsewhere online. (See how to make the simple version on HomesteadRules.com)
The simple waterers work fine, but the design needs to be modified if you want them to hang from above ground on a hook, which is more appropriate for inside a chicken coop.
My design hangs from its handle, and fills via a spigot on the top, which is a feature I haven’t seen in any other chicken waterer.
Benefits of this chicken waterer:
- 1/10 the price of commercial model
- Twice the capacity of commercial model
- Won’t rust like some commercial models
- See the water level at a glance
Ingredients
You will need
- Five gallon plastic bucket
- Lid with a spigot (or standard lid with a rubber seal will work too) – I found this lid for sale online which is similar to the one I use.
- Flat rubber plumbing washers
- Nuts and bolts (I use these stove bolts)
- Tiny rubber gaskets
- 14″ plant pot saucer (like this one)
Tip: Click any of these pictures for an extreme close-up!
Basically, the trick here is to attach the saucer to the bottom of the bucket using bolts. To thread the bolts through, holes must be drilled in both the bucket and the saucer. The rubber washers are necessary to prevent water leaking out the holes.
Task 1: Drilling!
Holes need to be drilled all over the place. First drill three holes in the bottom of the saucer unit.
 These holes need to line up perfectly with 3 more holes on the bottom of the bucket. Flip the bucket upside down and rest the saucer on its bottom, now facing up. You can mark where to drill with a long, skinny pen or just drill right through, which is what I ended up doing.
Next drill a 1/2″ hole at the very bottom of the bucket’s side. Originally I made the hole 1/8″, which is far too small for the water vacuum pressure magic to work. Take care in where you locate this hole, as the top of the opening will be the water level of the final product. If you drill too high, water will spill over the edges, and if you drill too low the chickens will not be able to drink. It’s Better to err on the low side initially, and make the hole taller if you need to later.

Task 2: Bolting
I used 3/4″ long 3/16″ wide stove bolts to secure the saucer to the bucket. Between the saucer and the bucket I used flat rubber washers with about a 3/16″ center hole (I tested the fit before I bought the hardware.) For extra insurance, I used tiny gasket seals as washers on the top. On the bottom, I just used ordinary metal washers.

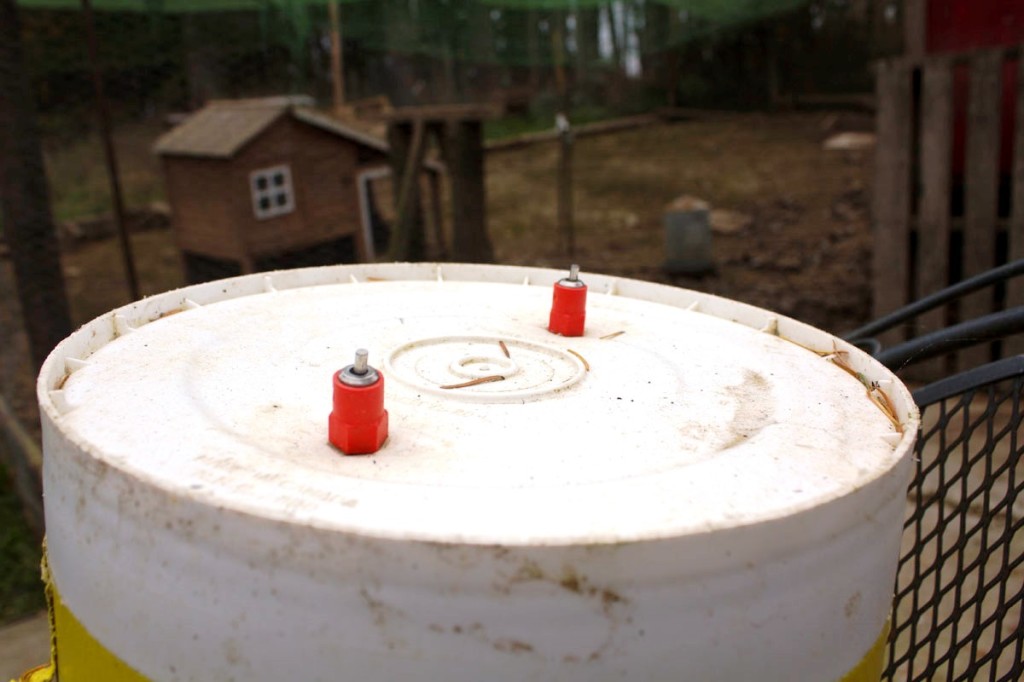
The outer seal of my lid worked well in maintaining the vacuum, but the spout did not have a seal on it, so I put one in to keep air from leaking through the spout. Even with the seal, the spout must be screwed very tightly to keep the orifice sealed. I will probably buy another seal for the cap so I can get a double seal as extra insurance.

Here is the finished product, hanging in the coop. Although the chickens seem to be ignoring it right now, it definitely works!

And here is the waterer outside on a cinder block., still being ignored by the flock. Notice that you can see the level of the water inside right through the bucket wall. This is very handy!

Update: The seal ended up gradually getting worse and worse on this unit, even when I tried doubling up. I think the plastic screw threads started bending and eroding so the unit would not stay sealed any more. I tried a few different things to repair it and ended up with the simplest solution imaginable, a sink drain plug (like this one). 1 1/4″ ended up being the right size for my lid, although 1/16″ bigger would have been better, but doesn’t exist.
Update 2: Also look into “chicken nipples” for a waterer that you only need to drill a few holes for. You won’t be able to rest it on the ground anymore but it’s easier to build. We wrap yellow tape around the buckets with chicken nipples in them so we don’t accidentally put them in the dirt.
Check out all our other 5 gallon bucket chicken care posts.

 The most interesting fact I’ve ever learned about five gallon plastic buckets is that In the third world, they are so valuable that it would be unthinkable to drill holes in one! Lucky for us, five gallon buckets are so cheap and ubiquitous in the western world that they can usually be picked up for free.


