
There’s two things I like about sub irrigated planters. One, you never have to water them. And two, you never have to water them.

They work by wicking water up, from a big reservoir underneath. And you can build one from 2 buckets and a yogurt container. Here’s how
Gather your Resources
To build your own sub-irrigated planter, you’ll need a few materials. This is per planter.
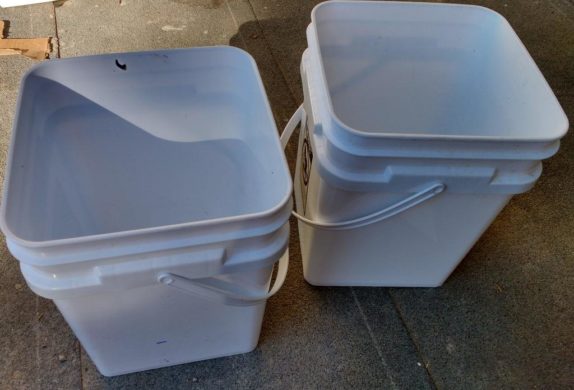
- 2 buckets of the same size that can nest into each other. No lids necessary. See my article on sourcing 5 gallon buckets for ideas on where to obtain these.
- Potting soil. Not all soil will wick water so make sure the bag says “potting soil.” You need about 20 liters (or 20 quarts) of soil per bucket. I bought 2 of these for around 7$ but if I lived in America I would get twice as much soil for 9$ off Amazon.

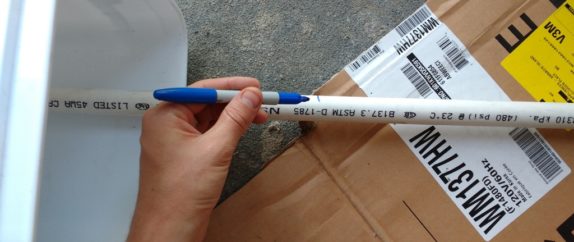
- 3/4″ PVC pipe. You need about 1 1/2 feet per planter. Get this at any hardware store. Usually they come in 10 foot lengths so just cut to size.
- A yogurt container or other small plastic circular container. The height needs to be similar to the interior space between the buckets when nested. The bigger the lip on the container, the better.

Marking the Top of your Reservoir
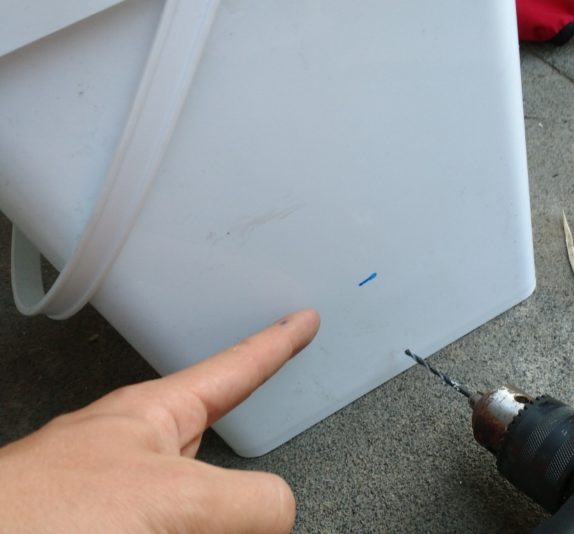
Nest your buckets together. Using a light, find where the top bucket ends and mark that spot. You can just see it in this picture. If you have a lamp, put the bucket over the lamp and you will be able to see the line very clearly.

Drilling all the Right holes in all the Right Places
You’ll need to drill 2 big holes in the base of the top bucket. One hole will house the yogurt container (the wick) up to its lip. The other hole is for the 3/4″ PVC so you to fill your reservoir.
I used a smaller yogurt container to trace the hole for the wick, and the PVC itself to trace the PVC hole. Again this is NOT the same yogurt container I will be using for the wick.
If you don’t have an appropriate sized container to use as to trace, you’ll have to mark with a compass, or a nail and piece of string to give you a good circle.


If you did the cuts right, the yogurt container should slip right in, and stop at the lip.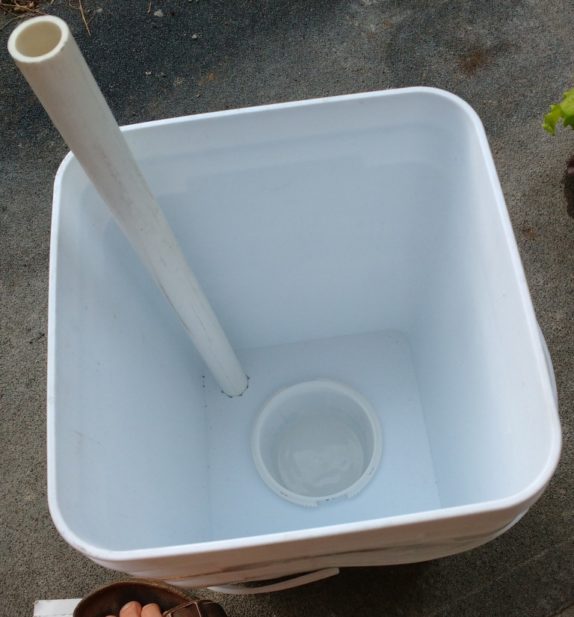
Finishing the Wick
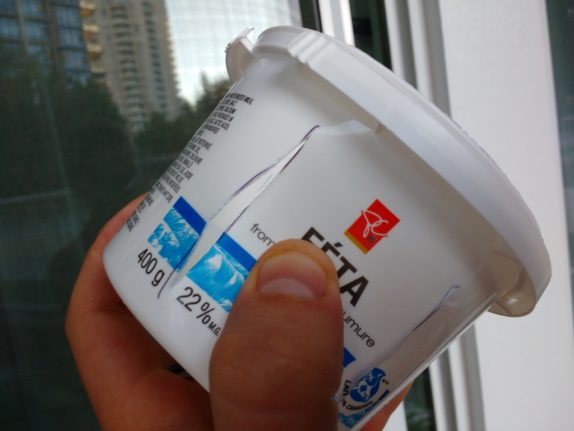
Next, slice a few slits along the yogurt container to let the water from the reservoir into the wick. 4 – 6 evenly spaced should be perfect. Make sure not to cut into the top or bottom of the container.
Piecing it all Together
Once you can fit all your pieces together, slide the top bucket into the bottom one.
Next drill a little hole where you marked the very base of your top bucket. This is the “overflow” hole, and will make sure you don’t over-water.
Add the Organics
Now you are ready to add soil. I add soil most of the way to the top before adding my plant.

I planted a lettuce because I am growing this in a low-light environment. You can try planting anything you want, although some plants will like a bit more sand in their soil so their roots stay a bit dryer. Look up the specific soil requirements for any plant you want to do this way.
Filling the Reservoir
You can lift the top bucket (the planter) right up, and fill the bottom bucket (the reservoir) directly with the hose. Or fill it from above using the fill pipe like I did.

My future plan is to build on this system with more buckets, lots of vinyl tubing and a large 44 gallon reservoir. Subscribe to the five gallon ideas mailing list on the sidebar if you want me to send you an update when I build the bigger system.