
A well made chicken broth serves as the base for delicious soups, gravies and many other savory meals.
True bone broth is a deep rich gold, very different from the watery yellow liquid from the grocery store which tastes more like salt than chicken. After you start making your own, you’ll agree that the most delicious part of the chicken are its bones!
You can make broth with the bones of any animal – but chicken is the easiest. Pig or cow bones can take 3 days to cook down, but a chicken broth can be done in just 4 hours.

Supplies Needed
For the most delicious chicken broth you’ve ever tasted, you’ll need
- The remains of one chicken
- Vegetable matter
- Water
- Slow Cooker
- White Vinegar
- Seasoning
Saving up Before you Spend
First you must make a commitment. A commitment to never again throw away any part of the chicken until you boil it down into broth. Not just bones, but skin, bits of gristle, even fat – nothing gets wasted! You can even save the drumsticks and wings that you’ve eaten off. You’ll be boiling these for hours, so anything germy from your mouth will be long gone.
Save everything in quart sized freezer bags – you’ll need 2 total. One is for bones and skin and anything else from a living creature. The other is for every bit of vegetable matter that doesn’t get used.

That’s right, you’re going to start saving that stuff too. The ends of leeks, peels from carrots, and the chunky part at the bottom of celery all get frozen. You can even save onion peels; they’ve got plenty of nutrients and they give broth a nice golden color.
Keep saving up until your “chicken” bag is full. It takes one whole roast chicken or several smaller chicken dinners to fill it.
The Fun Begins with a Full Sack of Bones
Bones are built to be strong, so they are tight-fisted with their nutrients. With these 2 bone softening tricks, they will yield to your will and give up everything they’ve got. These tricks are the most important steps, so I strongly encourage you not to ignore them!
Trick 1: Browning the Bones
This is why you kept the bones and vegetables in separate bags. Browning your bones will cut your broth making time in half. But there’s no need to oven roast your vegetables.
Bake in the oven at 350F for 15 minutes, then stir, then roast another 15 minutes. If they aren’t brown yet stir again and roast another 15. It takes longer because they started out frozen.
You can brown them right in the stoneware slow cooker pot, or in loaf pans in a toaster oven.
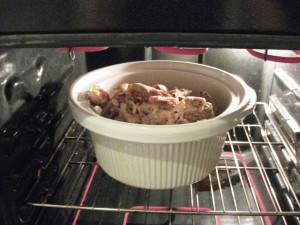
You don’t want to turn those bones black, but a nice golden brown on the edges is good.

Trick 2: White Vinegar
A 1/4 cup of white vinegar helps dissolve the bone marrow and extract it into the broth. You won’t taste the vinegar in the finished product, but adding it at the beginning will jump start your broth. You’ll notice it start to turn dark immediately, rather than 3 hours later.
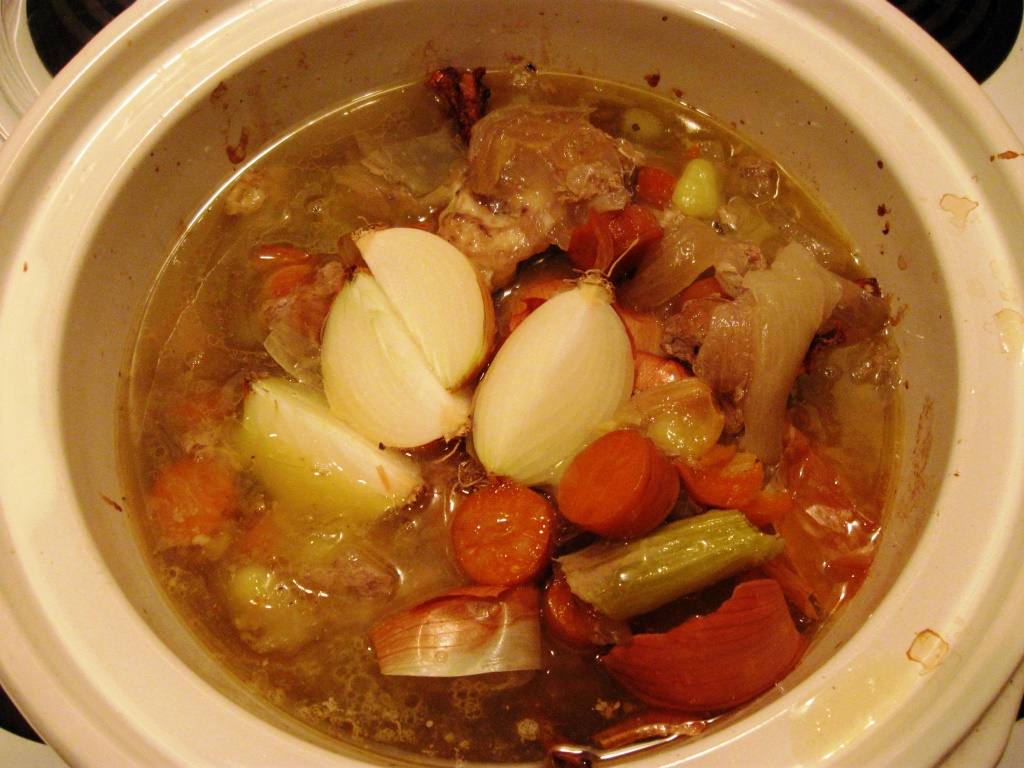
Adding the Rest
Add your vegetable parts, then run the tap over top until the water is just covering the bones. Don’t overfill the pot. The vegetables will cook down so don’t worry about covering them.
It’s good to add an extra onion or 2 cut into quarters. If you’re short on vegetable matter, add a couple of chopped carrots and celery sticks as well. If you want fancy, throw a bay leaf in there too!
Waiting & Tasting
Taste frequently, seasoning with salt and pepper as you go. Don’t over season at the beginning in case your broth needs to be concentrated later.
The quickest I’ve had bone broth done was in 4 hours. You might make it faster on the stove but broth is best brewed slow. It ok to leave a broth in the crock pot overnight or while you’re at work, it’ll be done when you get back.
Chicken broth is finished much quicker than other animals. Pork or Beef bones need much longer. The most delicious broth I ever made was made with pork ribs from a BBQ restaurant. It took 3 days full to bubble to completion, but it was worth the wait!

Drip Drip Drip
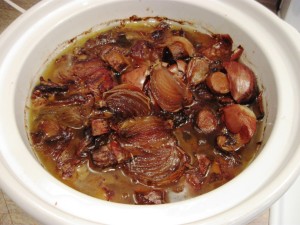
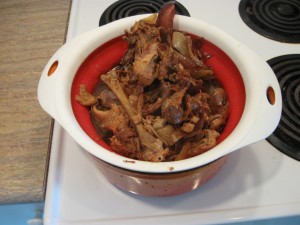
All the solids should now be a gross brown homogenous mess. Perfect!
You’ll want to strain all this gunk out, and compost it if you’re a gardener. It’s already been boiled into mush so it should decompose quickly.
Drain through a sieve and leave it to drip for a while so you get all the liquid out of it you can.
You can try to “sparge” this mash, which is a brewing term meaning “rinsing with water to get the last of the good stuff out.”
At this point you may choose to continue boiling your stock to condense the flavors further. Once it tastes irresistible, it’s ready!

Siphon off the Slime
You will notice a layer of grease rising to the top of your freshly strained broth. Chicken grease won’t hurt you, but it’s oily and tasteless and you’re better off without it.
I use this great gravy separator to take off the grease layer. It also works on the gunk and scum that floats to the top. (link to my gravy separator on Amazon)

To use a gravy separator, pour as much of the broth into it as possible, then slowly pour back out until only the oil and other crud is left in the siphon. Dump what’s left. You can siphon multiple times if you don’t get everything the first time.
Storing it Away
When we make enormous batches from the feet of a hundred chickens, we pressure can in quart jars. But for a 1-carcass broth it’s better to just freeze in a tupperware. A great trick to reclaim the tupperware is to remove the puck of chicken ice once it’s frozen, and store it long term back into a quart-sized freezer bag. Cradle to grave in a zip-lock.
Using your Chicken Broth
You can use this magical liquid in any recipe that requires chicken stock. That includes soups, meat pies and of course gravies. Some broth lovers drink it like coffee and swear it gives them more energy!
Cover Photo Credit: Glory Foods
I buy one of those precooked chickens for $4.99 and it makes a meal for us. I pick all the extra meat off the carcass and use the bones for making a broth. Then the next day the meat and broth become the base for meal #2 a nice chicken soup with dumplings.
Wonderful broth, fyi we feed the used veggies to our chickens…they love it & everybody wins! Thanks & keep the great ideas coming…
I store my chicken stock in zip-loc bags after I have frozen the stock in ice cube trays. Each stock cube is almost 1 ounce. If you need 8oz of stock, pull 8 cubes.