 I only learned the word “Pannier” recently, we always called them “bike bags” growing up. Square pails work best, but some of the guys that work for me use round pails with no negative effects.
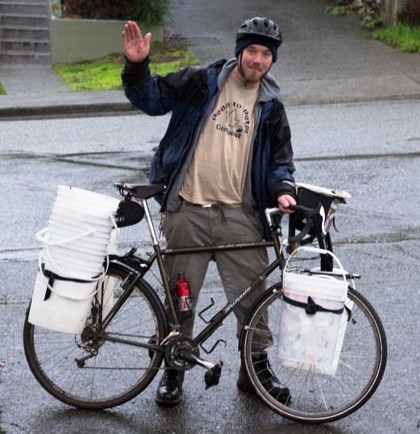
I have heard reports of people drilling into their buckets to add special metal attachments, but in my opinion there’s no need to make the bucket paniner so complicated, we just use cheap ratcheting straps like these ones which hold very strong and come off very easily. You will need a strong bike rack (sometimes called a “rat trap”) if you plan to carry heavy loads on your bucket cargo bike.
To double your carrying capacity, you can put a bucket on each handlebar, but make sure your handlebars are wide enough so the buckets do not interfere with your front wheel! This technique is not very safe, and should not be attempted over long distances.
When you park your bike, slip the bucket under the pedal for an instant kickstand!

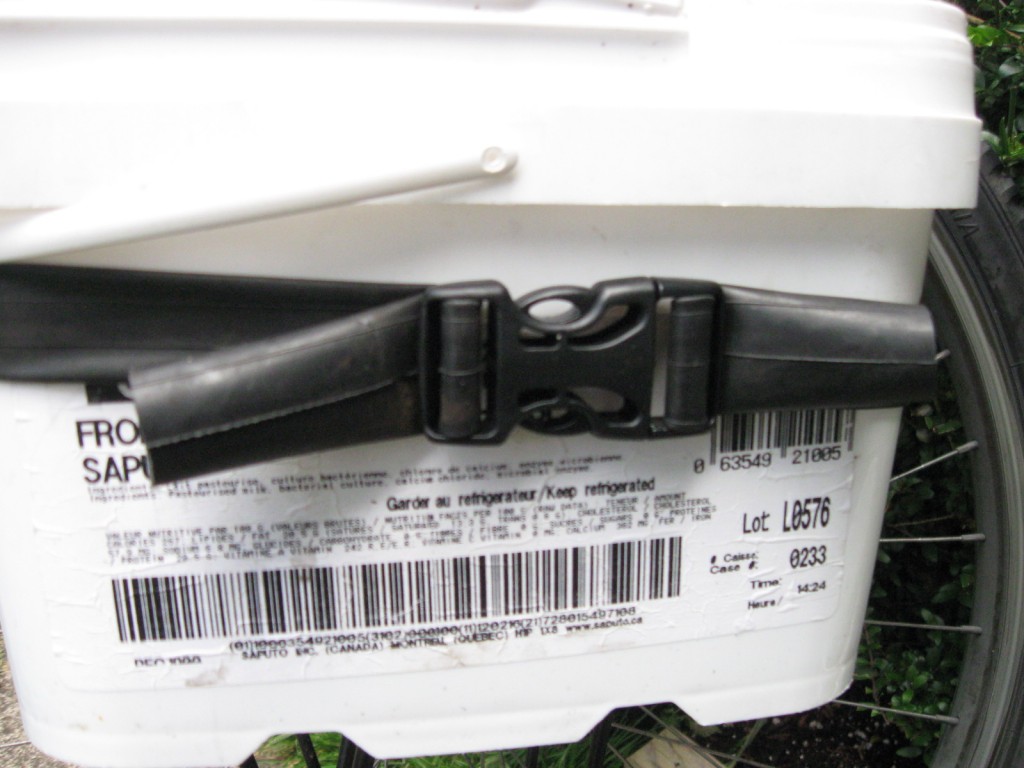
 Update: I have engineered a special strap that works very well for carrying buckets around with a bicycle rack, pictured on the right. These straps cost 70 cents each to make, and use a bicycle tube connected with these plastic buckles. They are strong enough to securely fasten a full five gallon bucket (20-30 lbs.) onto a sturdy rack.
Bicycle Straps Tutorial

For this project, you only need 2 ingredients:
- Plastic Buckles, male and female
- One or more used bicycle tubes
There are 2 widths of bicycle tubes I commonly see, 1″ and 1¾”. As far as I can tell, the former is for road bike tires while the latter is more commonly used for mountain bike tires.
For my straps, I’m using 1″ which makes a strap strong enough for most applications at home.
I get these straps by the dozen free from a nearby bike shop. They all have holes or tears in them, so they aren’t great for holding air anymore – but they work perfectly as straps, and they are extremely strong and durable.

Plastic Buckles
I buy my plastic buckets from Mountain Equipment Co-op, which is the Canadian version of REI. I get them for about 70 cents per pair male and female. Make sure you choose the right size for you bicycle tube, size 1½” or 1¼” works perfect for my 1″ bicycle tubes. You can get them for about the same price on Amazon.

Making the Straps
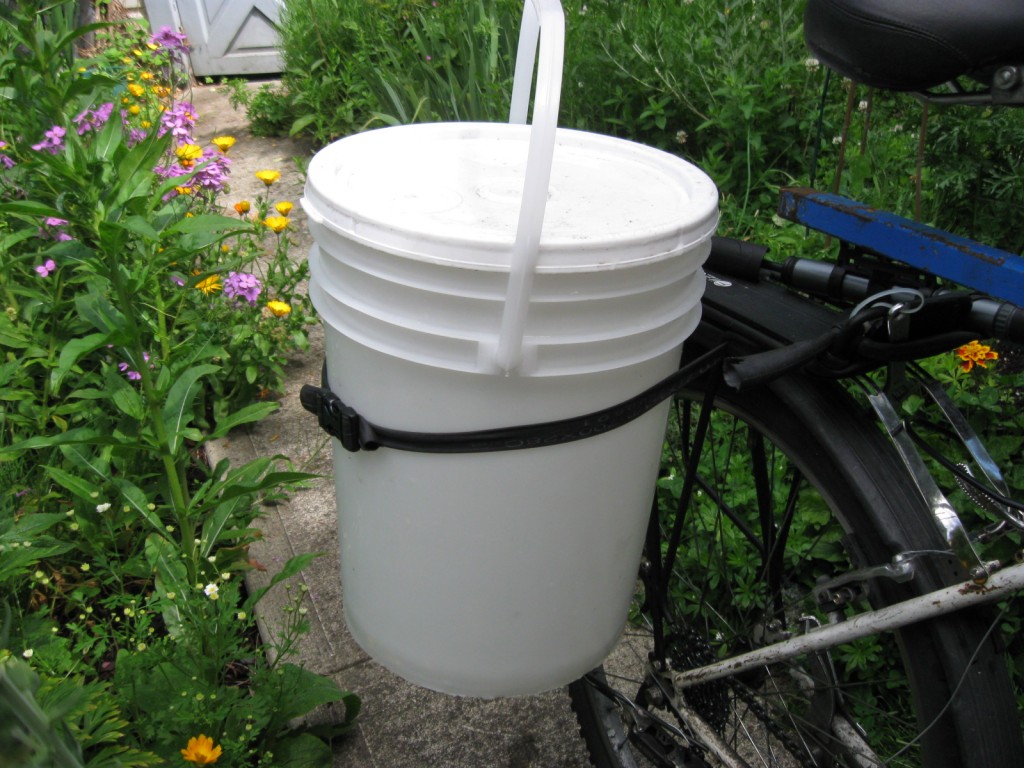
I cut my bicycle tube into thirds to make 3 straps. You can make your straps as long or as short as you want of course. A strap may seem short, but these straps stretch very far. In the next 3 pictures, you can see the same strap holding 2 very different sized buckets securely to a bike.


 This idea is sent in by a reader Geoff B. who has built one of these for his home. He says he is using a duct fan instead of a PC fan, but either works fine. Geoff says a single unit will not cool an entire room, but is effective for localized cooling around a single human being.


